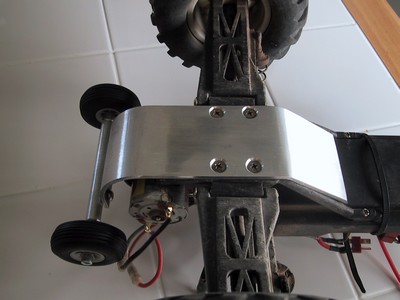
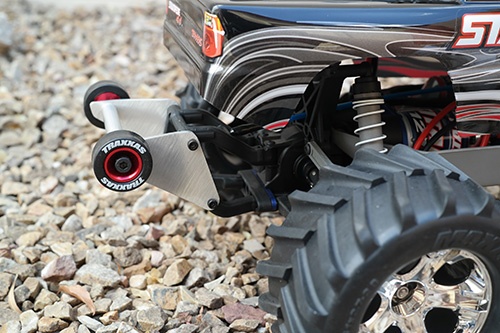
Assembly Instructions
Assembling your new Swami Bar is pretty simple and straight forward. The important thing you cannot neglect is the use of threadlock. Ideally you would use blue threadlock so that your connections are not permenant.
Contents
-
(2) 5mm Wheel Bolts
-
(2) 5mm Locknuts
-
(2) 4mm Axle Bolts
-
(2) Wheels
-
Plate
-
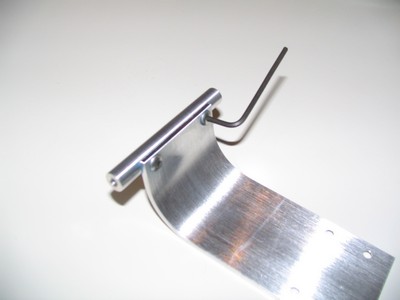
Axle
Items you will need
-
5mm hex wrench, pliers or nut driver
-
5mm allen wrench
-
THREADLOCK
-
(2) Wheels
-
Plate
-
Axle
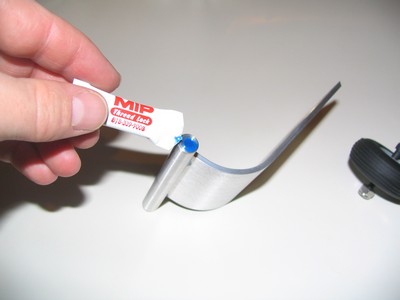
Threadlock - Threadlock - THREADLOCK
Your new wheeliebar will DEFINITELY fall apart without it. We used to include this because of how critical it is. Unfortunately, convenient sources for single-serve threadlock have disappeared from the market. Buy this.
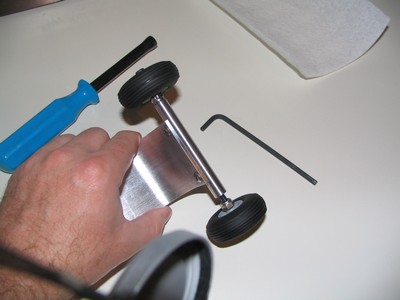
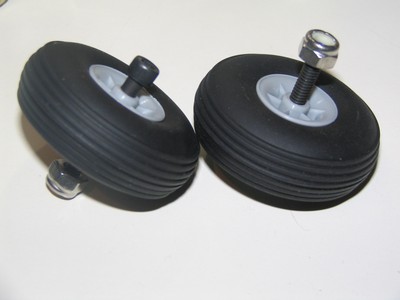
Assemble the Wheels
-
Insert a long bolt through one of the wheels and attach the locknut onto the long bolt.
-
Using the wrench, pliers (or nut driver as pictured), thread the nut down until you have only a small gap left that will allow the wheel to spin freely.
-
Repeat for other wheel.
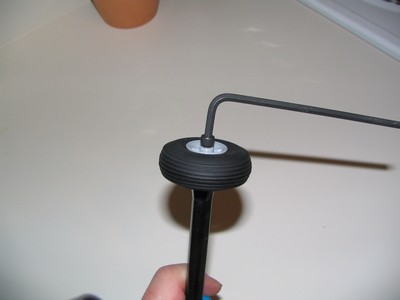
Attach Axle

-
Apply a small amount of threadlock (not supplied) to the inner holes of the axle. This application is CRITICAL, your wheeliebar will fall apart without it.